4 Ways to Remove Electric Motor Bearing without a Puller
The bearings of an electric motor are normally removed using a bearing puller. It has jaws to grab the back of the bearing and the threaded rod of the puller mounted at the end of the shaft. When tightened, the bearing got pulled out of the bearing journal
There are times when you face the task of removing and changing the bearing of a motor but either your puller won’t fit or you just don’t have it.
There are other ways to do it and here are some of them.
1. Using a vise and a pair of pry bar
2.. Cutting the outer race and then applying heat to the inner race of the bearing
3. Using a bearing splitter
4. Using the lathe machine and its coolant
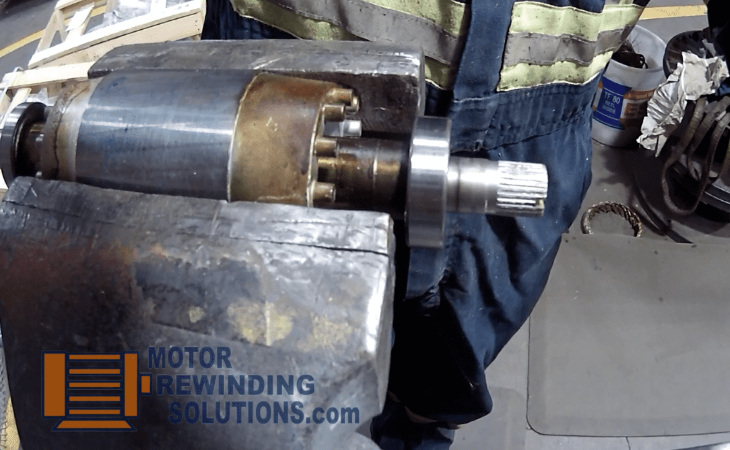
I. Removing a rotor bearing using a vise and a pair of pry bar
This method of removing the bearing is fast but it is necessary that the vise is securely mounted on a workbench. .
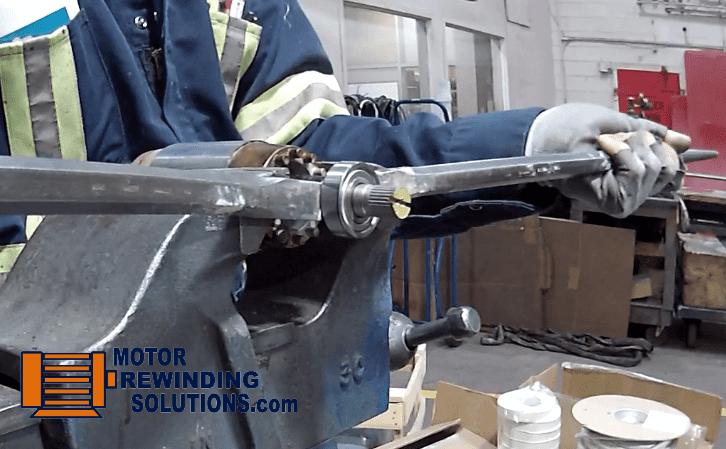
a) Clamp the rotor in a vise. Align the edge of the vice jaw to the rotor bearing.
b) For small bearings sizes 6203, 6202, 6201 or smaller, you can use a pair of longer, flat tipped screwdrivers, with the same length if possible. For bigger bearings sizes 6204 and 6206, a pair of pry bars are appropriate.
c) If the shaft is rusty, polish it up first using emery cloth then spray it with lubricant.
d) Pry the bearing out.
Some rotors have an internal fan made of aluminum, and the bearing is right behind it. Mount the rotor on the vise in a way that the fins of the fan are butting on the vise jaw to avoid damaging the fan. Pry the bearing out
II. Removing the bearing by cutting the outer race then applying heat to the inner race.
There are cases where removing a bearing is not possible with a puller like when there is no room for the puller jaw or prying it out can be challenging when the bearing is beside a flimsy fan. Heating the bearing will be your option
Bearings have an inner race which is tightly fitted in the shaft and an outer race that spins. Steel expands when heated so if the bearing inner race is hot and the shaft is cold it just slides out.
The heating process has to be fast otherwise the shaft will also heat up and both of them will expand. The bearing then will still be tightly held in place on the shaft.
In this case, you have to redo the process by cooling down the whole rotor first and then try heating the bearing again.
Procedure of removing a bearing using heat.
a) Secure the rotor in a vise
b) Using a thin disk grinder, cut the outer race of the bearing in two places until it falls off together with the balls. For smaller bearings you can use a Dremel tool.
On bigger bearings, you can use a cutting torch but make sure to cut it off to the side so that the molten metal will not fall on the shaft.
c) Let the rotor and the bearing inner race cools down. Put a fan.
d) Using a torch, heat the bearing inner race. You can use either oxyacetylene torch or a portable MAPP torch.
e) With your Kevlar heat resistant gloves on, pull the bearing out otherwise use a small piece of metal to gently slide the bearing inner race out of the shaft.
f) On bigger bearings, if you position the rotor upside down, the bearing inner race will probably just fall off.
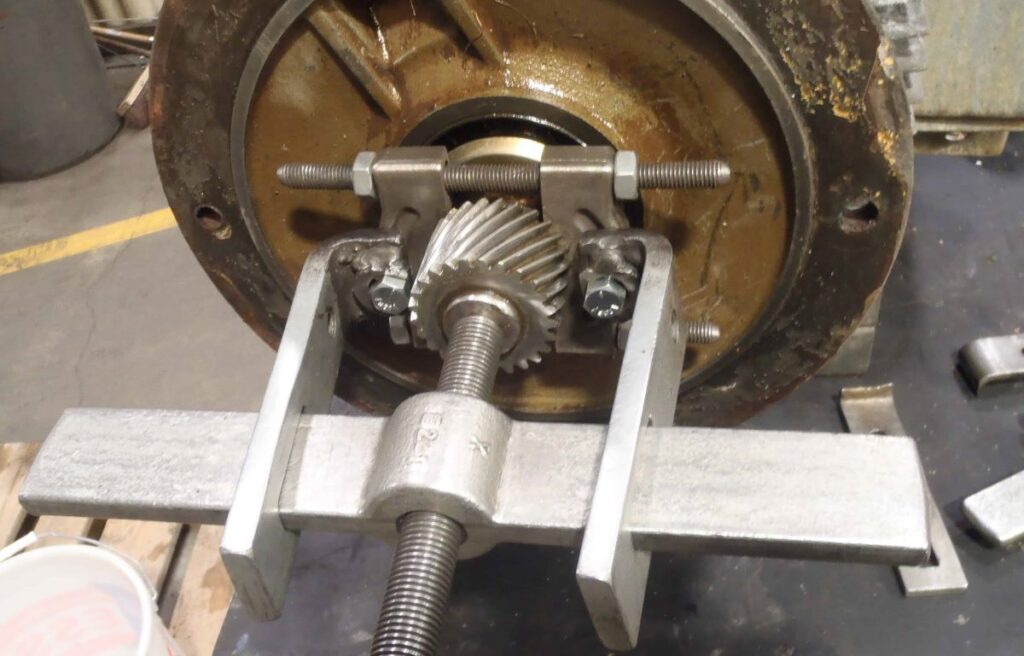
III. Removing the bearing from the shaft using a bearing splitter plate.
One advantage of a bearing splitter is that you can remove bearings fast. I can tell you that because I use the arbor press instead of the puller attachment that sometimes comes with the splitter.
If you have an arbor press and a bearing splitter plate, you can literally remove a bearing in less than 10 seconds. That fast.
Second advantage of it is that if the bearing is too close to the fan that even a puller jaw won’t fit.
Splitter plate can be thin enough to fit behind those bearings.
The third advantage is when the bearing to be removed is fairly new and needs to be reused.
For example, a brand new bearing was installed only to realize that a snap ring has to go behind it. It has to be removed and the snap ring installed first before the bearing.
Normally, since the bearing is cheap we just replace it with a new one. Besides, when you use the puller, the seal gets damaged.
Not so with the bearing splitter. Its flat surface puts even pressure on the inner and outer race of the bearing. Although replacing it is still ideal.
Procedure in using a bearing splitter and a press to remove rotor bearings
a. Loosen the splitter bolt nuts until the splitter plate clears the diameter of the bearing.
b. Set the bearing splitter flat side up on the arbor press base.
c. Position the bearing on the splitter
d. With one hand on the arbor press’s lever arm and the other holding the rotor, press the bearing out of the shaft.
The process can also be made faster by keeping those nuts loose. In this way, you can easily position the bearing on the splitter, close the two plates together, and press the bearing out.
Another suggestion is to put a spacer between the rotor shaft and the arbor press ram shaft so that the position of the arbor press lever is at the ideal spot where you can get a good leverage
The disadvantage is that you need two people to remove bearings on a bigger rotor because of its weight.
Also, some arbor press designs are not suited for this purpose. The base should have an opening that can accommodate the diameter of the rotor.

If a motor repair shop does a lot of rotor bearing replacements, modifying the base of the arbor press can be functional and productive.
For DIYers who don’t have an arbor press, setting the splitter on two blocks of wood and tapping the shaft with a rubber mallet to remove the bearing will also work.
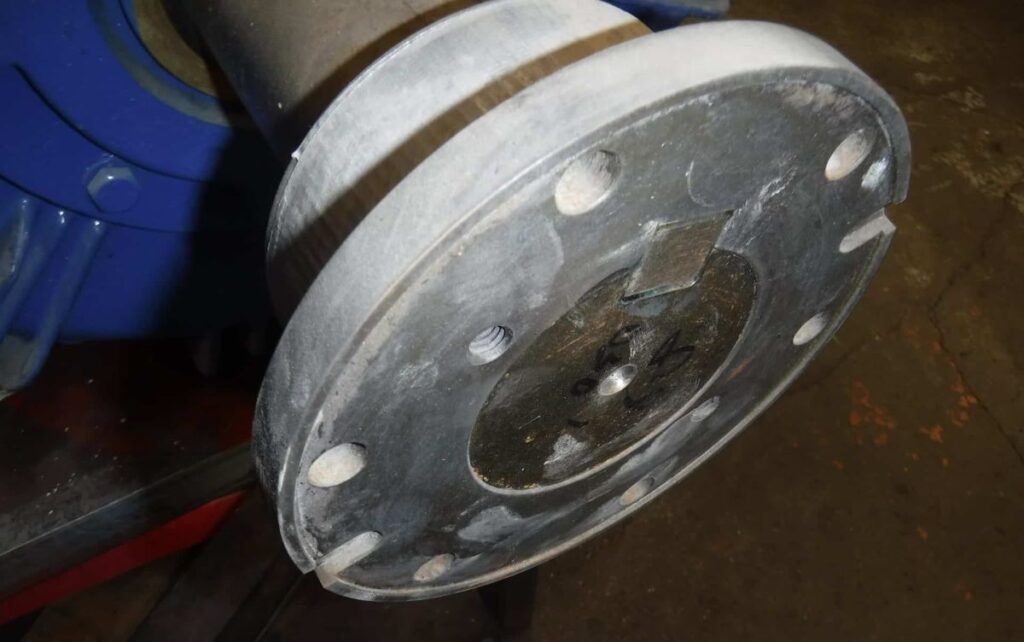
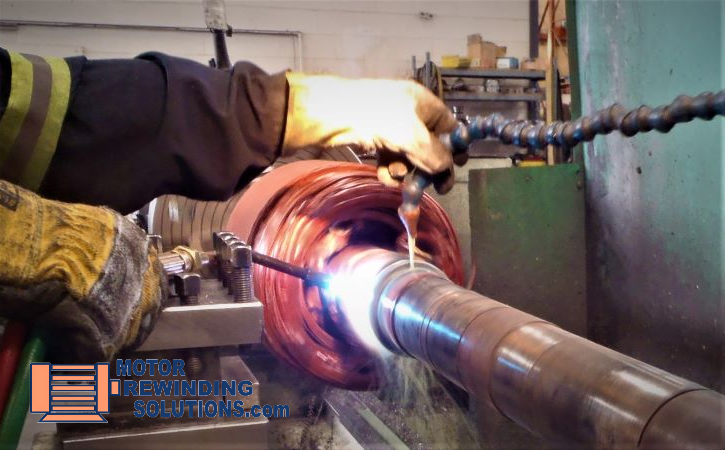
IV. Removing the bearing from the shaft using heat and lathe coolant.
Removing the bearing stuck in the rotor shaft using a puller and oxyacetylene torch can be challenging if the bearing journal is already damaged, corroded, or oversized.
Bearing balls can also collapse making a puller useless or in cases where the outer race of a roller bearing comes off leaving the inner race on the shaft.
Heating the bearing inner race evenly white rotating and making use of the lathe coolant is one option.
Also, when you have to set the rotor on the lathe to measure the shaft runout, might as well remove the bearing there.
Procedure in removing stubborn bearing out of a rotor shaft
a. Cut the bearing outer race using a cutoff disk grinder or oxy-acetylene cutting torch if not out already.
b. Set up the rotor on the lathe.
c. Set the lathe speed to around 45 RPM and let it run.
d. Turn on the lathe machine coolant and point the hose tip to the rotor shaft about an inch and a half (3.8 cm.) away from the bearing inner race.
e. Heat the bearing inner race using the rosebud tip of an oxyacetylene torch.
f. When the bearing comes hot, you can just slide it out.
There are other practical ways for sure that other motor mechanics use to remove bearings without a puller
If you have a problem with your electric motor or you want me to post a particular subject about it, please write it on the comment section and I’ll be happy to post it for you.
If you have other ideas, please share them below in the comments section so that others may benefit from it. I’m sure there’s a lot more ways to remove a bearing from the shaft besides a puller.
4 Ways to Remove Electric Motor Bearing without a Puller Read More »